You’ve probably looked at the price tag on a commercial solar generator and thought, “I could build that myself for less.” You’re right — and learning how to build a solar generator is more approachable than most people expect. It doesn’t require an electrical engineering degree, and you don’t need a garage full of specialized tools. What you do need is a clear understanding of which components work together, in what order, and why — and that’s exactly what this guide covers.
A DIY solar generator is essentially a battery bank charged by solar panels, with an inverter (a device that converts stored DC battery power into the AC power your appliances use) to make that energy usable in your home or off-grid setup. Once you understand those four core pieces — solar panels, a charge controller, a battery, and an inverter — the whole system clicks into place like a puzzle you’ve already seen the box of.
What Exactly Goes Into a Solar Generator?
Before you buy a single component, it helps to know what role each piece plays. Think of your solar generator like a relay race: the panels catch the energy, the charge controller passes it cleanly to the battery, the battery holds it until you need it, and the inverter hands it off to your devices at the right voltage. Every leg of that race matters.
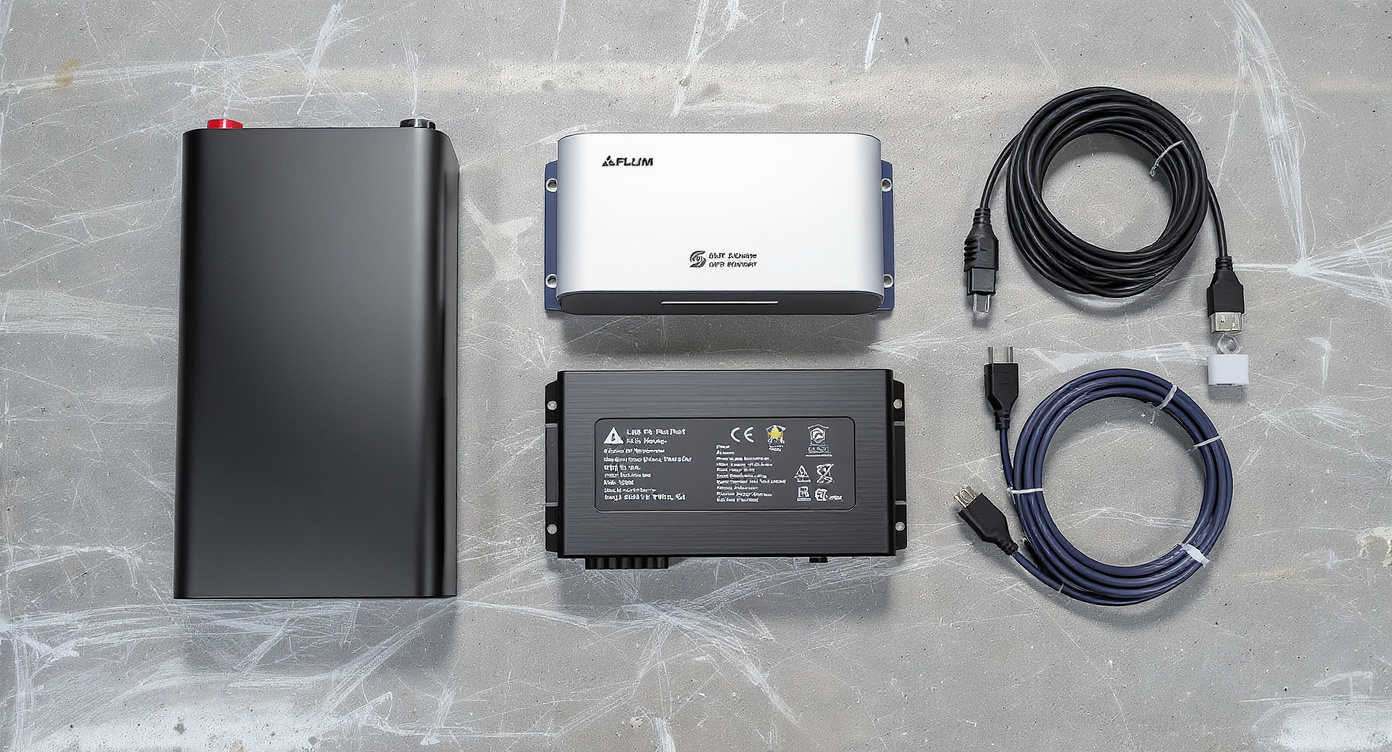
Here are the four essential components:
- Solar panels — Capture sunlight and convert it to DC (direct current) electricity.
- Charge controller — Regulates the voltage and current flowing from the panels to the battery, preventing overcharge and damage. MPPT controllers (Maximum Power Point Tracking) are more efficient than older PWM types.
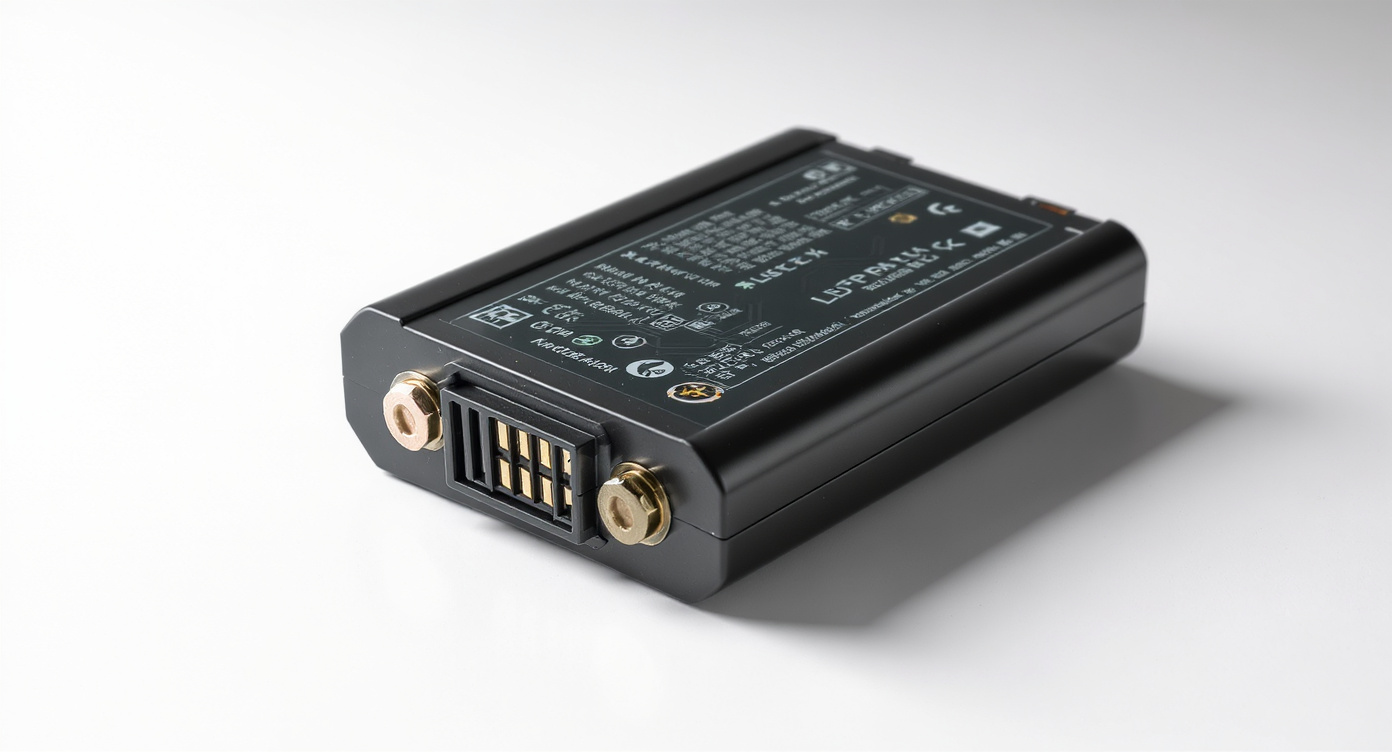
- Battery bank — Stores the energy. Lithium iron phosphate (LiFePO4) batteries are the current gold standard for DIY builds: longer cycle life, safer chemistry, and better depth of discharge than lead-acid alternatives.
- Inverter — Converts DC battery power into AC (alternating current) electricity so standard appliances can run from it. A pure sine wave inverter is worth the extra cost for sensitive electronics like laptops, medical devices, and modern appliances.
Optional but useful additions include a battery management system (BMS) — a circuit board that monitors cell voltage, temperature, and current to protect the battery — plus a fuse or breaker panel, a battery monitor (so you can see your state of charge at a glance), and weatherproof enclosures if you’re building for outdoor use.
If you’re still deciding whether a DIY build is right for you, it’s worth reading up on what a solar generator actually is and how it compares to other power options before you commit to a build.
Step 1 — Size Your System Before You Shop
This is the step most beginners skip, and it’s the one that causes the most regret. Buying parts before you know your power needs is like ordering custom furniture before you’ve measured the room.
Start by listing every device you want to run and for how long each day. Multiply each device’s wattage by the hours you’ll run it to get watt-hours (Wh). Add those up, and you have your daily energy demand. Then size your battery to cover at least one to two days of that demand (to account for cloudy days), and size your solar panels to recharge the battery within a reasonable window — typically four to six peak sun hours per day, depending on your location.
As a rough example: if your total daily demand is 600Wh, you’d want at least a 600–1,200Wh battery and roughly 200–400W of solar panels. Not sure what size makes sense for your situation? The article on choosing the right solar generator size walks through this calculation in more detail.
One thing worth asking yourself early: are you building this for occasional camping trips, home backup during outages, or a permanent off-grid installation? Each use case calls for different sizing, portability priorities, and component choices.

Step 2 — Choose Your Battery Chemistry Wisely
Your battery is the most expensive single component in a DIY solar generator, and it’s the decision that most affects long-term performance. Lead-acid batteries (including AGM and gel types) are cheaper upfront but heavier, less efficient, and only safely dischargeable to about 50% of their rated capacity. LiFePO4 batteries cost more initially but can be discharged to 80–90% of capacity, last two to four times longer in cycle count, and are significantly lighter.
For a portable build, a single 100Ah LiFePO4 battery (roughly 1,280Wh at 12.8V nominal) is a popular starting point. For a home backup system, you’d likely wire multiple batteries in series or parallel to reach a higher voltage (24V or 48V) and greater total capacity. Higher voltage systems are more efficient over longer wire runs and allow smaller wire gauges — an important consideration if you’re building a permanent installation.
Insider tip: If you’re buying individual LiFePO4 cells and assembling your own battery pack, make sure the cells are from the same batch and have been capacity-tested to match. Mismatched cells in a series string degrade faster and can cause the BMS to cut out prematurely. Buying a pre-assembled battery with a built-in BMS is easier and safer for most first-time builders.
Step 3 — Wire It All Together (in the Right Order)
Wiring sequence matters for safety. Always connect components in this order: battery first, then charge controller, then solar panels last. Disconnecting follows the reverse order. Never connect or disconnect panels while they’re in full sun if you can avoid it — the open-circuit voltage can cause arcing at the terminals.
Use appropriately rated wire for each connection. Undersized wire is a fire hazard; oversized wire is just wasteful. A wire sizing chart (available free from most solar supply retailers) will tell you the correct gauge based on your amperage and wire run length. Install an inline fuse or circuit breaker between the battery and the inverter — this is non-negotiable. A short circuit between a lithium battery and an inverter without overcurrent protection can cause a fire in seconds.
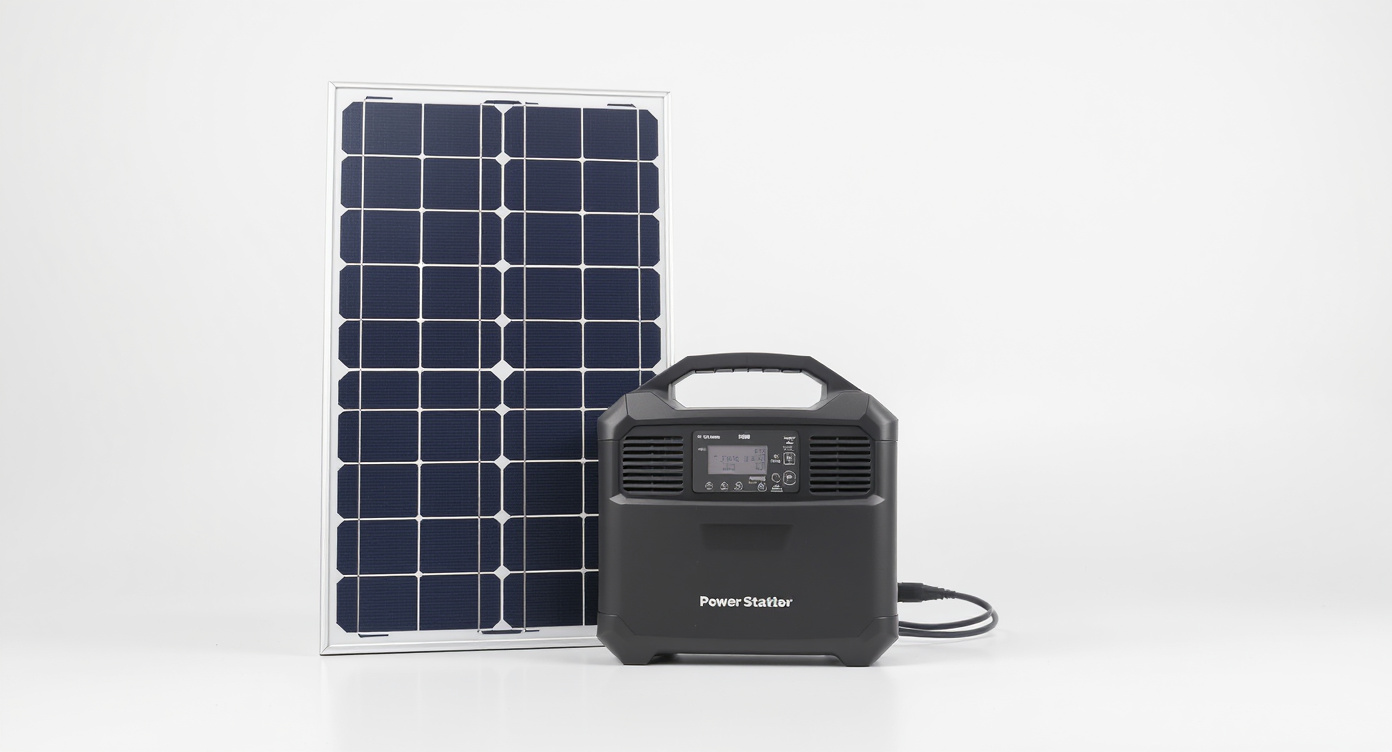
For a portable generator build, many DIYers mount everything inside a hard-sided plastic case (like a Pelican-style case) or a vented wooden box. Leave space for airflow around the inverter, which generates heat under load. Label every wire clearly — you’ll thank yourself six months later when you need to troubleshoot.
Step 4 — Connect and Position Your Solar Panels
Solar panels can be wired in series (which increases voltage while keeping current the same), in parallel (which increases current while keeping voltage the same), or a combination of both. The right configuration depends on your charge controller’s input voltage range. Most MPPT charge controllers accept a wide input voltage range — check the spec sheet before wiring.
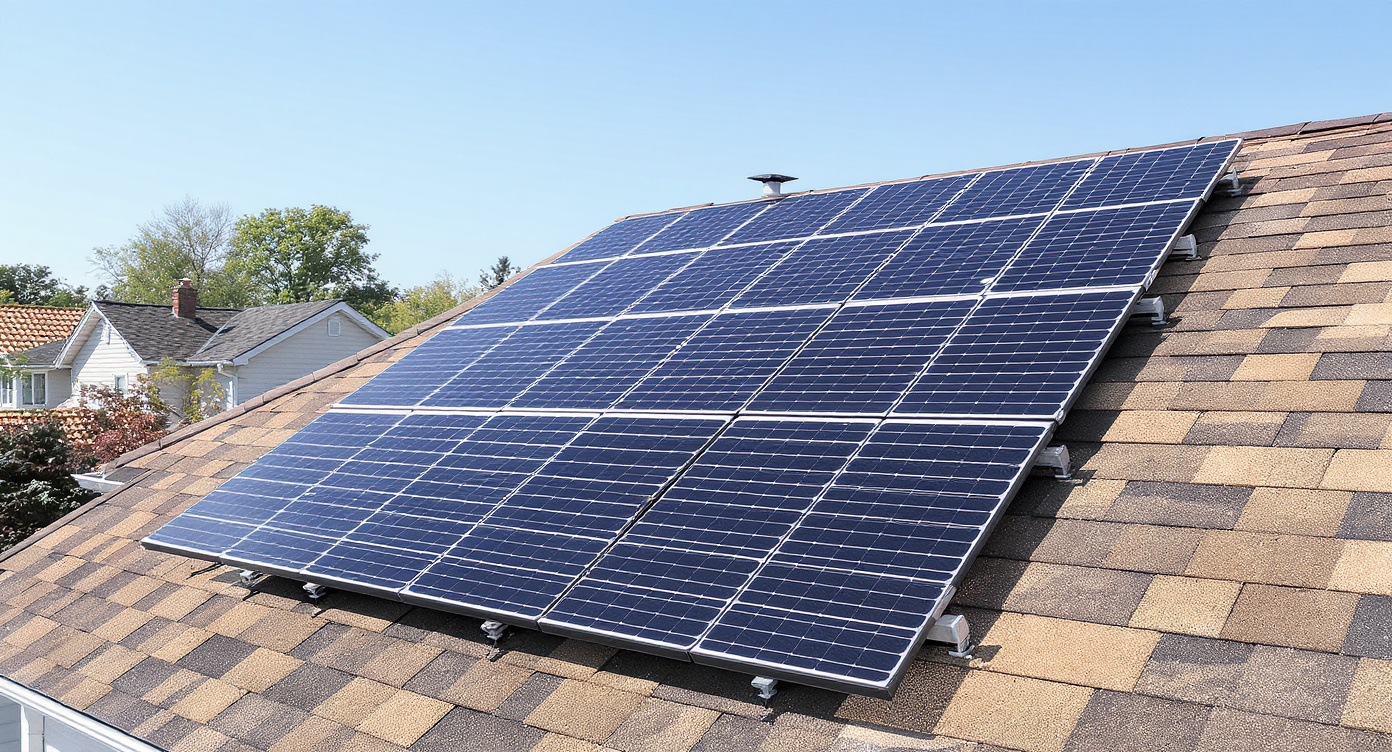
For a portable build, foldable or briefcase-style panels (typically 100–200W) are convenient and easy to angle toward the sun. For a stationary setup, rigid monocrystalline panels offer the best efficiency per square foot. Tilt your panels toward the sun at an angle roughly equal to your latitude for year-round performance, or adjust seasonally for better output in winter.
Want to know how charging speed compares across different setups? The guide on the fastest-charging solar generator options covers what to look for in high-speed charging configurations — useful if recharge time is a priority for your build.
Step 5 — Test Everything Before You Rely On It
Once everything is wired up, test with a low-stakes load first — a phone charger or a small lamp. Check that your battery monitor is reading accurately, that the charge controller is showing a charge current when the panels are in sunlight, and that the inverter output voltage is correct (120V AC in North America). Then gradually increase the load to verify the inverter handles it without tripping.
Run a full charge and discharge cycle before you deploy the system in a real situation. This gives you a realistic sense of actual capacity (which is often slightly less than the rated spec) and lets you catch any wiring issues in a controlled environment rather than during an actual outage or camping trip.
Insider tip: A cheap clamp meter (a tool that measures current without cutting into the wire) is invaluable for diagnosing problems in a solar system. You can verify current flow at every stage of the circuit without rewiring anything. It’s a $30–$50 tool that pays for itself the first time something doesn’t behave as expected.

DIY Build vs. Pre-Built: Honest Tradeoffs
Building your own solar generator has real advantages — you can customize capacity, choose higher-quality components, and often save money on a per-watt-hour basis compared to consumer units. But it’s not the right choice for everyone. Here’s an honest look at both sides:
Pros of building your own:
- Fully customizable capacity and voltage
- Potentially lower cost per Wh at larger capacities
- Easier to repair and upgrade individual components
- Satisfying to understand exactly how your system works
Cons of building your own:
- Requires time, research, and comfort with basic electrical work
- No single warranty covering the whole system
- Wiring mistakes can be dangerous if you skip fusing or use wrong wire gauges
- Pre-built units often have integrated BMS, MPPT, and inverter protection that’s harder to replicate cleanly in a DIY build
If you’re weighing the DIY route against a commercial unit, it’s worth understanding the broader solar vs. generator comparison and how solar generator pricing stacks up at different capacity levels. For some buyers, a pre-built unit at the right price point makes more sense than sourcing individual components.
Recommended Components for a DIY Solar Generator Build
Renogy 200W Monocrystalline Solar Panel
Brand: Renogy
Key Specs: 200W, monocrystalline cells, ~21% efficiency, pre-drilled mounting holes, MC4 connectors
Why it fits: A solid mid-range panel for a stationary or semi-portable DIY build. Widely available, well-documented, and compatible with most MPPT charge controllers.
Victron SmartSolar MPPT 100/30 Charge Controller
Brand: Victron Energy
Key Specs: 100V max PV input, 30A output, Bluetooth monitoring via app, supports 12V/24V battery systems
Why it fits: One of the most trusted MPPT controllers in the DIY solar community. Bluetooth monitoring makes it easy to track charging performance without additional hardware.
Battle Born 100Ah LiFePO4 Battery
Brand: Battle Born Batteries
Key Specs: 100Ah, 12V, built-in BMS, ~3,000–5,000 cycle life, ~29 lbs
Why it fits: A premium drop-in LiFePO4 battery with an integrated BMS — ideal for first-time builders who want reliability without assembling their own cell pack.
Giandel 2000W Pure Sine Wave Inverter
Brand: Giandel
Key Specs: 2000W continuous / 4000W peak, 12V DC input, 120V AC output, dual AC outlets, USB port, remote switch
Why it fits: Handles most household appliances at a reasonable price point. Pure sine wave output protects sensitive electronics — important if you’re running laptops, TVs, or medical equipment.
Victron BMV-712 Battery Monitor
Brand: Victron Energy
Key Specs: Bluetooth-enabled, displays state of charge, voltage, current, and time-to-go, compatible with all battery chemistries
Why it fits: Knowing your actual state of charge (not just voltage) is critical for managing a DIY system. This monitor gives you accurate, real-time data via a clean app interface.

Frequently Asked Questions
Can I add more panels later to increase charging speed?
Yes, most MPPT charge controllers support additional panels up to their rated input voltage and current. Check your controller’s maximum PV input specs before adding panels, and make sure your wiring can handle the increased current. It’s one of the advantages of a DIY system — you can scale it incrementally.
Is a DIY solar generator safe to use indoors?
The battery and inverter components are safe indoors provided your wiring is properly fused and the inverter has adequate ventilation. Unlike gas generators, there’s no combustion and no carbon monoxide risk. That said, LiFePO4 batteries should be stored in a cool, dry location away from flammable materials, and you should never charge a battery that shows signs of swelling or physical damage.
Can a DIY solar generator power a whole house?
A small DIY build won’t power an entire home, but a larger system — multiple battery banks, a high-capacity inverter, and a substantial solar array — can cover essential loads. The article on whether a solar generator can power a house covers what’s realistically achievable at different system sizes.
How long will a DIY solar generator last?
With quality LiFePO4 batteries and proper charge management, the battery bank alone should last 10+ years under regular use. Solar panels typically carry 25-year performance warranties. The charge controller and inverter are the components most likely to need replacement over time — usually after 5–10 years of heavy use. For a deeper look at longevity, see the guide on how long solar generators last.
What if I want to connect my DIY build to an existing solar panel system?
It’s possible but requires careful planning around voltage compatibility and safe integration. The guide on connecting a generator to a solar system covers the key considerations for hybrid setups.
Can my finished build run a space heater or air conditioner?
High-draw appliances like space heaters and air conditioners are among the most demanding loads for any solar generator. Whether your DIY build can handle them depends entirely on your inverter’s continuous wattage rating and your battery capacity. The dedicated guides on running a space heater on solar and powering an air conditioner with solar break down the math for both scenarios.
Wrapping Up: Your Build Starts With a Plan
Building your own solar generator is genuinely one of the most rewarding DIY energy projects you can take on. Once you’ve done it once, you’ll understand your power system at a level that no pre-built unit can teach you — and you’ll be able to troubleshoot, upgrade, and expand it with confidence.
The key is to start with your power needs, not with the parts. Size your battery and panels to match your actual usage, choose quality components where it matters most (battery chemistry and inverter type), and wire everything with proper overcurrent protection. Take it one step at a time, test as you go, and don’t rush the planning phase.
Ready to go deeper? Explore the full range of solar power guides on Solarasphere — from comparing solar to gas generators to understanding whether you still need a backup generator if you already have solar panels. Your ideal energy setup is closer than you think.